Tag - projects

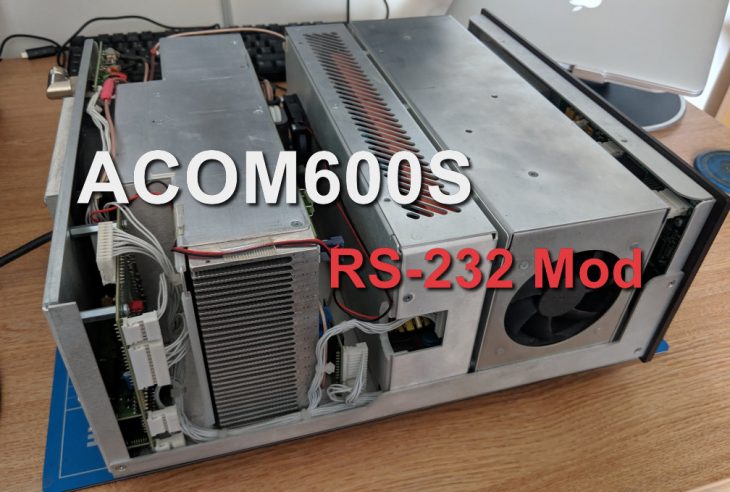
When is an RS-232 port not an RS-232 port (ACOM 600S RS-232 Mod)

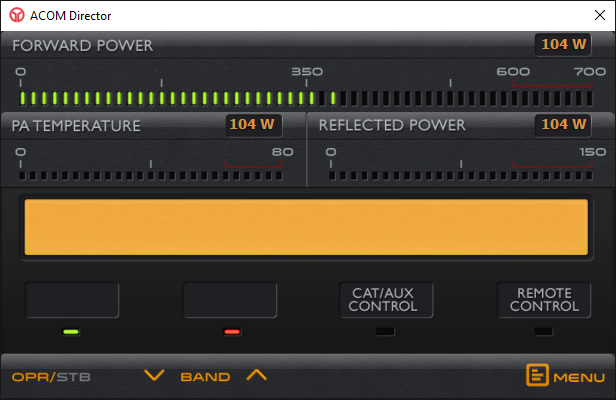
I have been attempting to get the remote power on capability of ACOM Director Plus working with the ACOM 600S however no matter what I tried I was unable to make it work. I tried swapping to a null modem cable and amazingly the remote power on worked perfectly, however I could no longer connect to the amp from the computer.

On closer inspection of the manual, it would appear that there is something unusual about the wiring for the RS-232 port
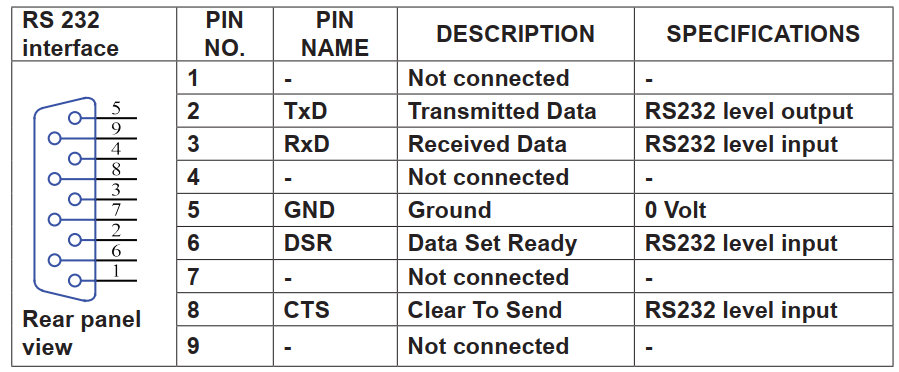
At first glance everything seems fine, however pins 2 & 3 (TxD and RxD) are wired to use a straight through RS-232 cable, but pins 6 & 8 (DSR and CTS used for remote power on) are wired to use a null modem cable. This means that for full control of the amp a custom cable must be used.

What peaked my interest is the fact that pins 4 & 7 are noted as Not Connected, these are the DTR and RTS lines and are what’s used to tell the amp to power on. In order for this to work they must be connected to pins 6 and 8. It occured to me that it should be possible to make a modification to the amp to enable it to support a regular straight through RS-232 cable.

To that end i’ve put together a mod which can be found over at ACOM 600S RS-232 RPON Mod which details how to do this. It’s only useful if you intend to use the RPON capability through the RS-232 port, however it will avoid the need for custom cables and is still backward compatible should a custom cable happen to be used in the future.

IMPORTANT – YOU SHOULD NOT ATTEMPT THIS MODIFICATION UNLESS YOU ARE CERTAIN YOU HAVE THE SKILLS AND EQUIPMENT REQUIRED, YOU COULD DAMAGE YOUR AMPLIFIER. THIS MODIFICATION IS NOT ENDORSED BY ACOM. NO RESPONSIBILITY IS TAKEN BY M0YOM, ACOM OR ANYONE ELSE FOR ANY DAMAGE OR INJURY THAT MAY RESULT FROM PERFORMING THIS MODIFICATION. PERFORMING THIS MODIFICATION WILL LIKELY VOID YOUR WARRANTY.

 

Installing Feedlines

After having been off air for a number of years due to an impending house move, I finally moved to my new location last summer. The house is very much a project house so most of last year was spent working on the property. This year however I decided it was time to begin getting my station built and getting back on air.

The new property has an excellent section of land which is ideal for antennas however given that the shack is in an upstairs bedroom getting coax and control lines to it would be a challenge, especially as i’d have to get these through the garden without upsetting the XYL too much.

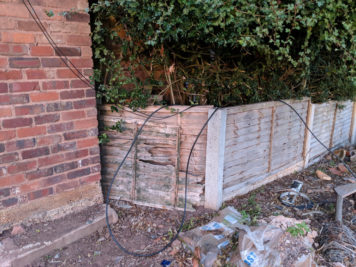
I decided the best approach was to bury the cabling under the garden. I chose to use Messi & Paoloni BROAD-PRO 50 Double Jacket coax, it provides excellent performance at a fairly reasonable price and with the double jacket can be direct buried if needed.

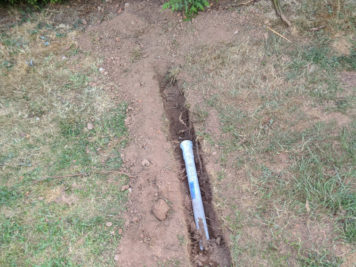
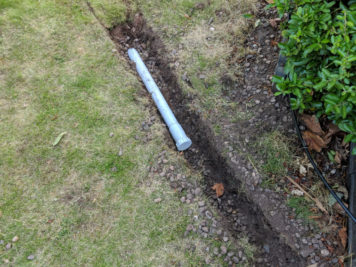
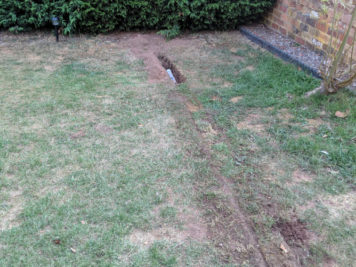
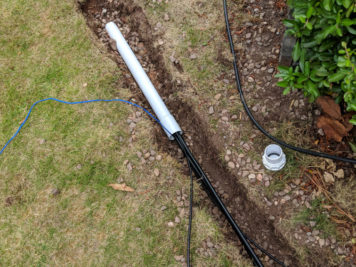
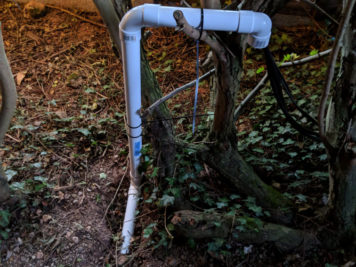
Despite having the option to direct bury the coax, I decided to use conduit, this would allow me to run some additional cabling and in the event any of the cabling needed replacing, I could do so without having to dig another trench. I used 40mm waste pipe as the conduit, it’s pretty cheap and works nicely for this application, the conduit was laid on a bed of sand to help protect it from any stones or rocks. It was only buried about 8-10 inches from the surface.

Feeding the coax through the conduit was a challenge as I had a few bends, I first ran a string line through using a shop vac to suck the line from the other end (this was surprisingly effective), however feeding the cable through 20 meters of conduit was quite a struggle.

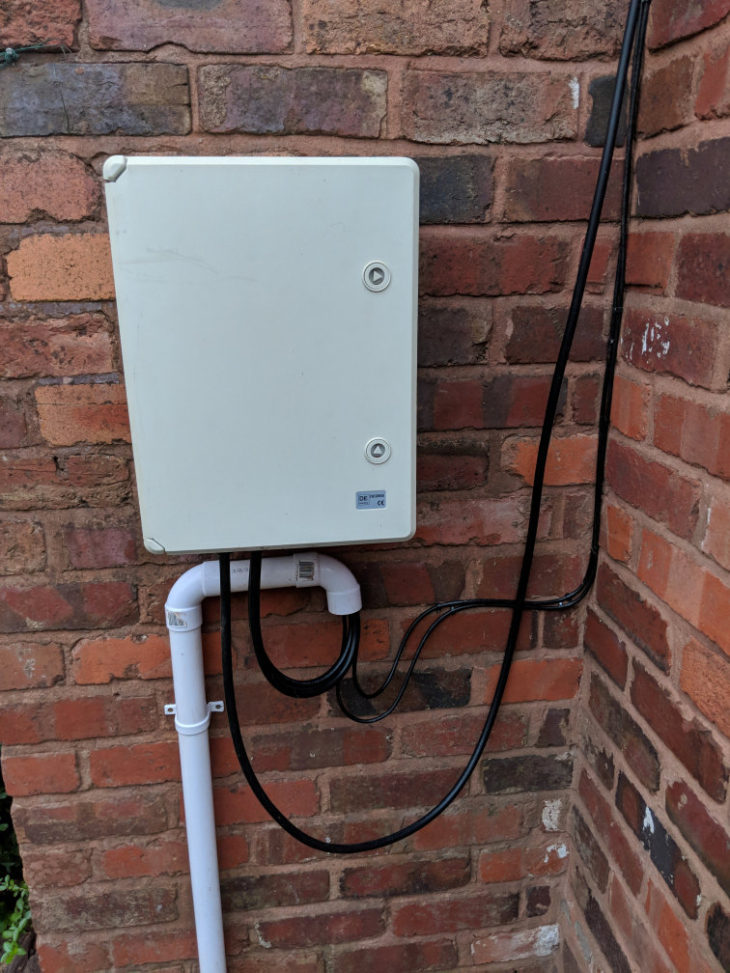
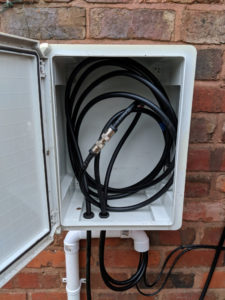
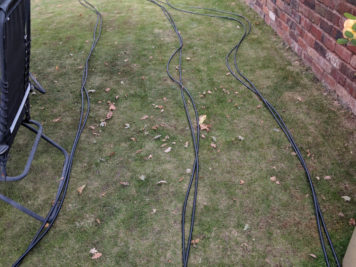
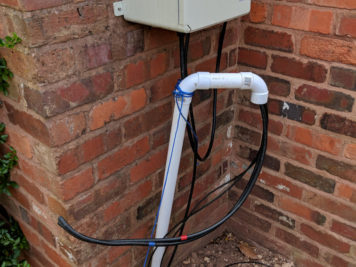
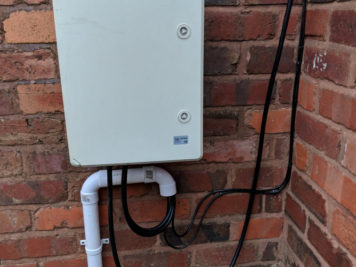
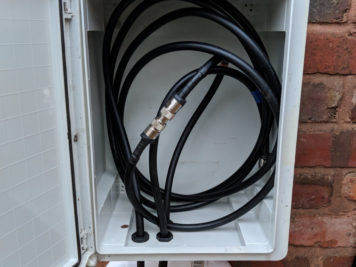
I ended up with 2 runs of coax and 2 runs of externally rated CAT6 cable (all antenna switching control, tuning control etc. will be done over ethernet). I installed an intermediate junction box before the cabling entered the conduit, this will allow me to add additional switching and/or replace any damaged coax without the need to remove the runs that go all the way to the shack.

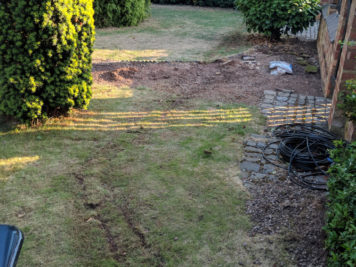
The cabling exits close to where the antennas will be located and will eventially be terminated in a large IP65 wall cabinet which will house all the antenna switching gear and matching systems, however for now I have them hooked directly into a DX Commander multi band vertical that my good friend Callum M0MCX kindly donated (http://www.m0mcx.co.uk).

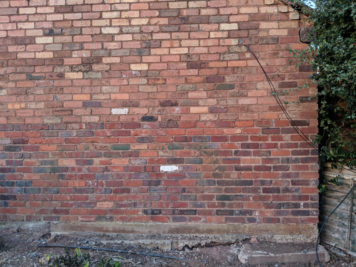
I’m very happy with how it all turned out and the trench is now barely visible in the garden.


Easily Install Windows 10 on Raspberry Pi 2 from Windows 8

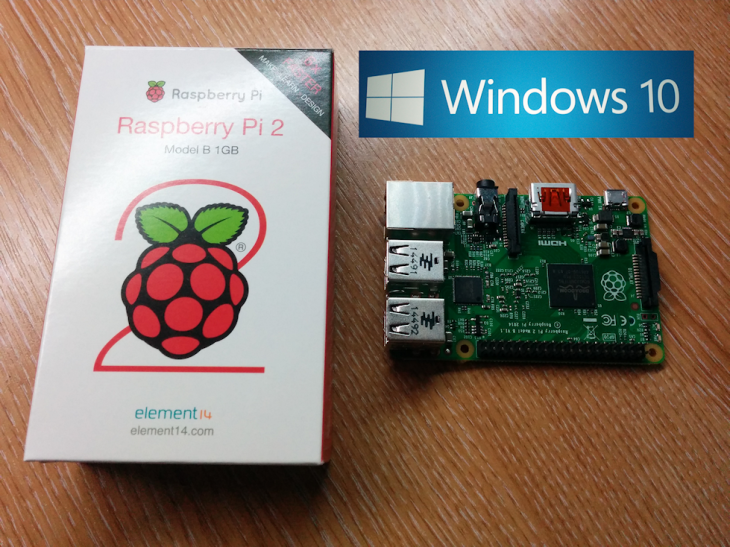
Having recently purchased a couple of Raspberry Pi 2’s to play with, I was intrigued to see what the recent Windows 10 IoT version was like running on it. Being able to run a windows platform on something like a Raspberry Pi would open up a lot of opportunities to put these great little computers to work.

I faithfully downloaded the image from Microsoft (you need to be registered to download it, but you can find details on how to do this on google pretty easily). Once downloaded I set about writing the image (in this case an FFU file) to an SD card. This is a fairly simple process using the DISM tool. This is where my problems started, when running the command to write the image to the SD card I would receive the error “The /applydrive option is not recognized in this context”. It seems that you can only use the Windows 10 version of DISM and I’m running Windows 8.1. Not having a spare machine to install Windows 10 Preview on I began the usual Google search to figure out how to install Windows 10 IoT on the Pi using windows 8.

There are a few guides out there, but none of them are that simple, so I figured I’d put together this simple guide to help anyone else in my position wanting to try the Raspberry Pi Windows 10 release if they only have an earlier version of windows.

Read More